
Digital Denture
Workflows

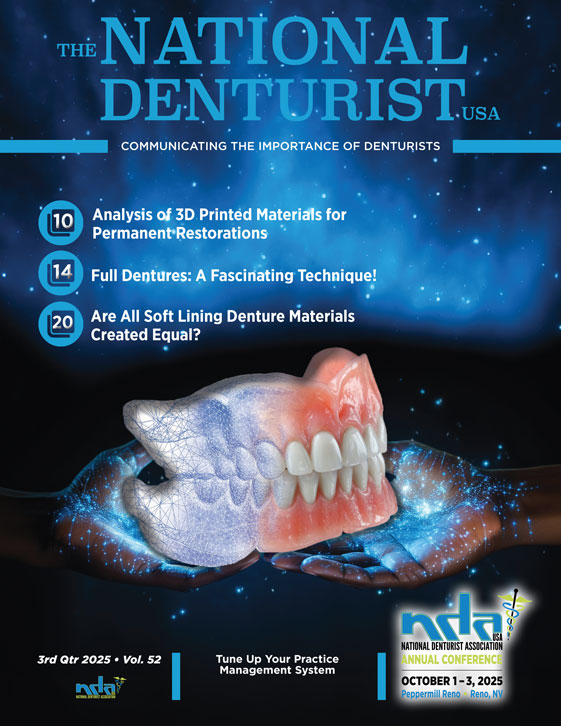
The digital denture revolution is here and it is transforming how dentists approach edentulous cases, streamlining what was once a labor-intensive and costly process into a fast, efficient workflow. With Rodin Digital Dentures, practitioners can shift from traditional, multi-week, multi-appointment methods—often requiring five or more patient visits—to a significantly quicker process that delivers precise, high-quality results. The traditional use of acrylic is giving way to advanced, durable resins with superior strength and improved aesthetics, which stand up to wear and maintain a natural appearance over time.

Step 1 | Plan

Begin with a comprehensive evaluation of the patient’s oral anatomy, facial structure, and overall dental needs. Key areas include identifying the midline, smile line, and occlusal plane, while also considering the patient's aesthetic preferences, functional requirements, and comfort.

Step 2 | Scan

Using an intraoral scanner, capture a digital scan of the patient’s edentulous arch. This scan provides precise measurements of the soft tissues, arch contours, and essential anatomical features required for the denture base and tooth setup.

Step 3 | Design

Import the digital scan to preferred dental CAD software, focusing on occlusion, tooth position, and aesthetics. Design as a split file or monolithic denture. Make digital adjustments to the midline, smile line, and setup to ensure a natural-looking denture.

Step 4 | Print

Once you have completed the dentures design, nest the restoration using the associated printer software, following recommended guidelines for optimal orientation and support structures for printing accuracy and efficiency. Once complete, export the print job file to the 3D printer. Next, fill the resin vat with Rodin Titan and initiate the print job. Repeat the process with Denture Base 2.0 for split file denture designs.

Step 5 | Wash and Clean

After the print is complete, remove restoration from build plate. Remove supports from the restoration and follow manufacturer instructions for use for wash and post-processing procedures.

Step 6 | Post-Process and Cure

Prior to final curing, assemble tooth arch to denture base using Rodin N2-Free Glaze as a luting agent. Prior to final curing, make adjustments  to contacts, contours, and occlusion as needed. For best chemical bonding, apply Rodin Palette and N2-Free Glaze in uncured state and post cure according to manufacturer's recommendations.

Step 7 | Final Polish

After making any necessary adjustments, the denture is polished for final delivery. A well-fitting denture ensures both aesthetic harmony and functional balance, providing the patient with a durable and natural-looking premium digital denture.

Why Choose Denture Base 2.0?

Rodin® Denture Base 2.0 offers an exceptional solution for modern denture fabrication, combining durability, aesthetics, and patient comfort in one advanced material. Its expanded range of gingival shades ensures a more personalized match, enhancing the natural look for diverse patient needs. Engineered for superior flexibility and high impact resistance, this denture base withstands daily wear while maintaining a secure, comfortable fit for the patient. With precision accuracy that rivals milled dentures and a lustrous finish for a high-shine appearance, Rodin® Denture Base 2.0 sets a new standard in reliable, high-quality dentures that provide both function and aesthetic appeal.

Study by Dr. Russell Giordano II | BU Department of Restorative Sciences/Biomaterials